
To install a self-hosted push notification panel, rent a VPS (Ubuntu 24.04 is a common choice), point a subdomain such as push.example.com at it, enable HTTPS, install the panel, connect a Firebase project, then add your website and place the JavaScript and service worker file on it. Most of the work is setup you do once.
I enjoy this kind of job because it’s where web push stops being a black box. You can see every moving part: the server, the domain, the certificate, the Firebase keys and the little service worker file that makes it all work. Below is the full process, using LaraPush as the worked example, with notes that apply to any self-hosted panel.
Quick facts:
- Web push needs HTTPS, because the Push API only works in secure contexts (MDN Push API).
- LaraPush’s llms.txt recommends Ubuntu 24.04 and says 1 GB RAM and 1 vCPU is enough.
- LaraPush installation is free and automated from the customer portal, so you don’t have to run server commands yourself.
- The service worker file must live on your website’s own domain, not just on the panel’s domain.
What do you need before you start?
You need five things before installing a self-hosted push panel: a licence or the panel software, a VPS, a domain or subdomain you control, a Google Firebase project, and access to your website’s files or WordPress admin.
| Item | Why you need it | Notes |
|---|---|---|
| Panel licence | The software itself | LaraPush starts from $499 one-time; see pricing |
| VPS | Runs the panel, database and queue | Ubuntu 24.04, 1 GB RAM, 1 vCPU per LaraPush docs |
| Subdomain | Address for the panel | e.g. push.example.com, set with an A record |
| Firebase project | Delivery through FCM | Free to create in the Firebase console |
| Website access | To add the script and service worker | FTP/file manager, or the WordPress plugin |
Popular VPS providers that LaraPush lists as working include DigitalOcean, Vultr, Linode, Hostinger and AWS Lightsail. Pick a region close to most of your audience or your main site. For a sizing deep dive, see my self-hosted push server requirements post.
How do I install a self-hosted push notification panel step by step?
You install it in eight steps, and with LaraPush the server part is automated. Here’s the order I follow:
- Buy the licence. LaraPush emails the licence key straight after purchase.
- Create a VPS running Ubuntu 24.04 and note its public IP address.
- Add an A record for a subdomain, such as push.example.com, pointing to that IP.
- Wait for DNS to resolve, then claim the free installation from the LaraPush customer portal.
- Log in to the panel, set admin credentials and apply your licence key.
- Create a Firebase project and copy its web configuration into the panel when you add your website.
- Integrate your site: embed the JavaScript snippet and upload the service worker file, or install the WordPress plugin.
- Let the panel verify the files, then check that the subscription prompt appears on your site.
How do I set up the domain and DNS?
You set up DNS by creating an A record for a subdomain that points to the VPS’s IP address. A subdomain keeps the panel separate from your main website, so a problem on one doesn’t take down the other.
In your DNS provider, add a record with type A, the name “push” (or similar), and the server IP as the value. Propagation is often quick but can take longer depending on TTL. You can check it with a simple ping or an online DNS lookup before moving on.
How does HTTPS work for the panel?
The panel needs a valid SSL certificate, because browsers only allow push subscriptions on secure origins. The usual free option is Let’s Encrypt, often installed with Certbot.
Your main website must also be on HTTPS, since that’s where visitors subscribe. If you’re doing a manual install of another panel, set up the certificate right after DNS resolves. With LaraPush’s automated installation, the setup is handled for you from the portal.
What if I install a panel manually?
A manual install follows the same idea, just with more commands. A typical PHP push panel needs a web server such as Nginx, PHP, a MySQL database, a queue worker and a scheduled task runner.
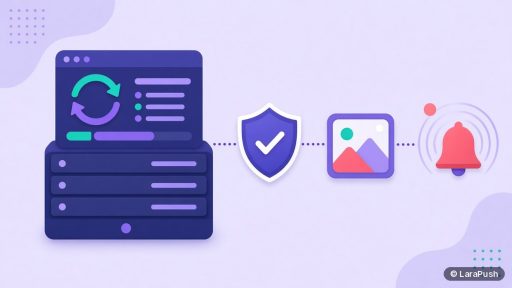
The part people forget is the queue. Push campaigns are sent by background workers, so you need a process manager such as Supervisor to keep them running after a reboot or crash. Without it, the panel looks fine but campaigns sit in the queue unsent. That’s one reason I like having installation included, as LaraPush does.
How do I connect Firebase Cloud Messaging?
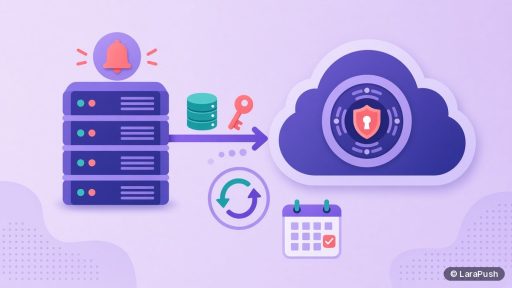
You connect FCM by creating a project in the Firebase console, registering a web app, and copying its configuration values into the panel. The panel then uses those credentials to hand each notification to Google for delivery.
Firebase project creation is free. Keep the project credentials private, and don’t commit them to a public repository. Google’s FCM web client guide explains the browser side if you want to understand what the panel is doing.
How do I add the panel to my website?
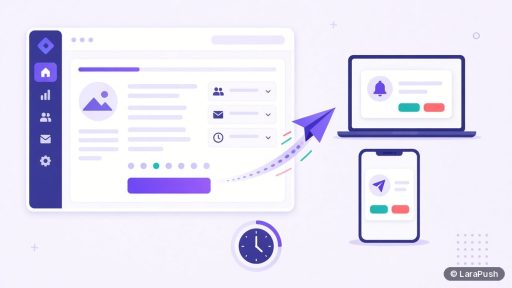
You add it by placing a small JavaScript snippet in your site’s pages and uploading the service worker file to your site’s root. The script shows the prompt and creates the subscription; the service worker receives pushes in the background.
On WordPress, the free Push Notifications by LaraPush plugin handles both parts after you authenticate it. For other platforms, see my guides on adding push notifications to any website and push for static HTML sites.
How do I test that everything works?
You test it by subscribing from your own browser, sending a test notification, and checking that it arrives and opens the right link. Do this on desktop Chrome first, then Firefox and an Android phone.
If nothing appears, check three things: that the site is on HTTPS, that the service worker file loads from your site’s root without a 404, and that notifications aren’t blocked in the browser or operating system. My push notifications not showing checklist covers the rest.
Where LaraPush fits
LaraPush is built for exactly this setup: a self-hosted web push panel on your own VPS, with free installation and onboarding included. One licence covers one server, with unlimited domains and subscribers on it. Startup includes 6 months of support and Pro includes 12 months. The trade-off is that the VPS is yours to pay for and keep updated. Setup docs are in the LaraPush guide.
Frequently asked questions
With LaraPush, the server installation is automated and takes a few minutes once DNS points to your VPS. Adding Firebase, integrating your website and testing usually takes longer than the install itself, so plan for an afternoon including checks.
Any reliable VPS running Ubuntu 24.04 works. LaraPush lists DigitalOcean, Vultr, Linode, Hostinger and AWS Lightsail as working options and says 1 GB RAM and 1 vCPU is enough. Choose a region close to your audience and a provider with snapshots for easy backups.
No. LaraPush’s installation is free and automated from the customer portal, so you don’t need to run server commands. You do need to create the VPS, set the DNS record, and add Firebase details in the panel.
It’s not recommended. A push panel needs background queue workers and scheduled tasks running all the time, which most shared hosting plans don’t allow. A small VPS gives you that control at low cost.
No. The panel usually lives on its own subdomain, such as push.example.com. Only the JavaScript snippet and service worker file need to be on your website, because browsers tie each subscription to the site’s own origin.