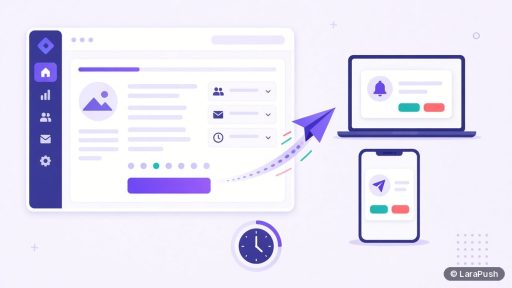
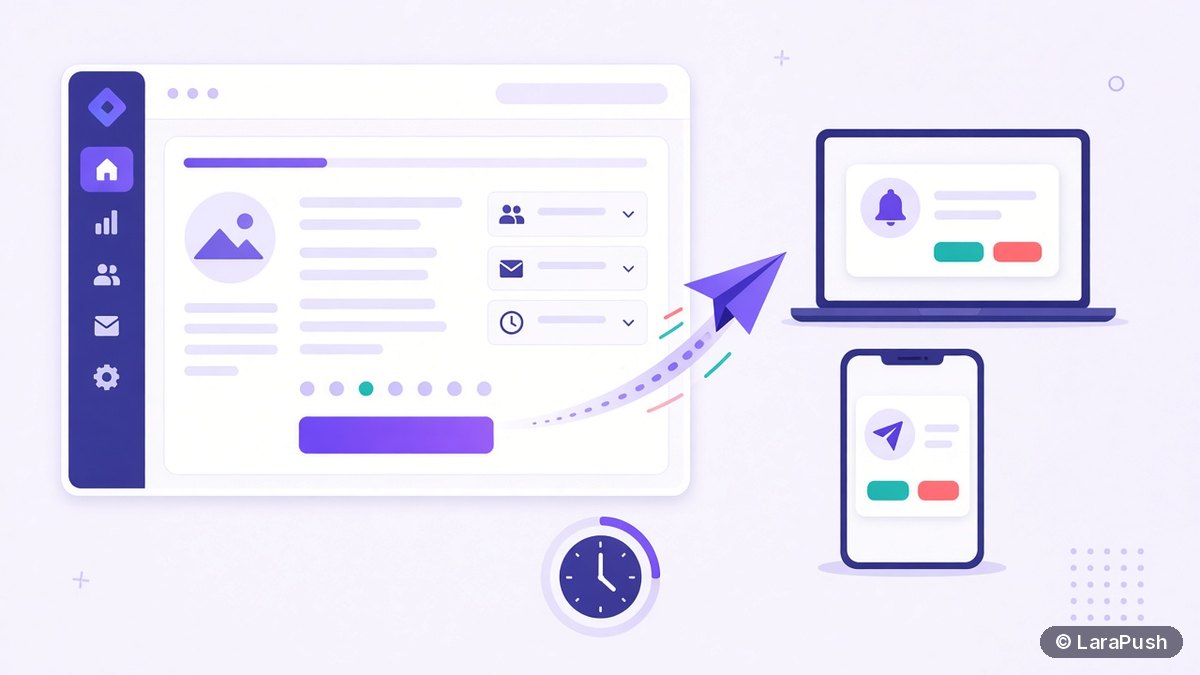

To send your first web push campaign in LaraPush, pick your project, create a campaign with Quick Push or the manual editor, check the live preview, send a test to your own browser, then send it now or schedule it. Quick Push fills in the title and image from a URL you paste.
Your first campaign is where most push setups either build a habit or stall. So I treat it as a small launch, not a test button. In this guide, I’ll walk through the steps in the order I’d do them, using the features LaraPush documents in its setup guide and on its features page. For screen-by-screen help, the guide is the place to go.
Quick facts:
- LaraPush offers two ways to build a campaign: Quick Push (paste a URL and the page metadata is fetched) and a manual campaign (title, message, image, link and icon).
- Every campaign has a live preview and a test send before it goes to subscribers.
- You can send immediately or schedule for later.
- Campaigns support up to 2 call-to-action (CTA) buttons, each with its own click tracking.
- Reports show sent, delivered and clicked counts, click-through rate (CTR), and breakdowns by date, location, device, OS and browser.
What do you need before you send your first web push campaign?
Before your first web push campaign, you need a working LaraPush panel, a website added as a project, and at least one subscriber. The simplest first subscriber is you: subscribe from your own browser so the test send has somewhere to land.
| Requirement | Why it matters | Where to check |
|---|---|---|
| LaraPush installed on your VPS | The panel sends the notifications | LaraPush customer portal and guide |
| Site added with Firebase config | Delivery runs through Firebase Cloud Messaging (FCM) | Project settings in your panel |
| Script and service worker live, or the WordPress plugin | Visitors can’t subscribe without them | Your site, in a private browser window |
| At least one subscriber | You need a device to test on | Subscribe from your own browser |
If notifications don’t show up on your own device, fix that first. My checklist of why web push notifications are not showing covers the usual causes, such as OS focus modes and blocked browser permissions.
How do you create the campaign: Quick Push or manual?
Use Quick Push when the campaign points to a page that already has a good title and image, and use a manual campaign when you want to write the copy yourself. Quick Push is faster, while the manual editor gives you full control.
Quick Push
- Open the project for your site in the LaraPush panel.
- Start a Quick Push and paste the URL of the page you want to promote.
- Let LaraPush fetch the page’s title, description and image.
- Edit the fetched text if it’s too long or too vague.
Manual campaign
- Create a new campaign in the same project.
- Write a title and a message.
- Add an image, an icon and the link that opens on click.
- Save it, or start from one of LaraPush’s notification templates if you send the same format often.
Either way, the browser renders the final notification through the Notifications API. So the exact layout depends on the browser and OS, as MDN’s showNotification() reference explains.
How should you write your first push notification?
Write your first push notification as one clear promise: a specific title, a short message that adds one detail, and a link to the exact page it describes. Push is read in a second or two, so clarity beats cleverness.
- Title: say what’s new, in plain words. For example, “New guide: how to back up your WordPress site” beats “You won’t believe this”.
- Message: add one useful detail, such as the time it takes or what the reader gets.
- Image: use a relevant image, because some browsers show it large and others don’t show it at all.
- Link: send people to the exact page, not your homepage.
- CTA buttons: add up to 2 buttons only when there are two real choices, such as “Read now” and “Watch the video”.
For more ideas, see my web push notification examples by industry and the guide to CTA buttons in web push notifications.
Should you send your first campaign to everyone?
Not always. For a first campaign, a small segment is often the safer start, because it lets you check delivery and clicks before the whole list sees it. LaraPush can target by device, browser, OS, country, region, subscription date, subscribed URL, referrer and last visit.
For example, you could send your first campaign only to subscribers who joined from your blog. Then, once the numbers look sensible, you send the next one to everyone. My guide to segmenting push subscribers by location, device and behaviour has ready-made segment ideas.
How do you test before you send?
Test in two steps: check the live preview in the panel, then send a test to your own subscribed browser. The preview catches typos and cropped text. The test send, on the other hand, shows you what a real device does with your image, icon and buttons.
- Read the live preview for spelling, length and the right link.
- Send a test to your own browser.
- Click the notification and confirm the right page opens.
- If you can, check on a second device, such as an Android phone.
- Fix anything odd, then test again.
Should you send now or schedule the campaign?
Send now for news and time-sensitive updates, and schedule when you want the campaign to land at a set time. LaraPush supports both. Scheduling is also useful when you prepare campaigns in advance, such as a week of content promotions.
When I plan a first send, I pick a time when my readers are usually active on the site. Your own analytics are the best guide here, because good timing varies by audience and niche.
How do you read the results of your first campaign?
Read the campaign report for sent, delivered and clicked numbers, and then the click-through rate (CTR). Delivered is lower than sent when some subscriptions have expired, while CTR tells you how many people who received the notification clicked it.
| Metric | What it tells you | What to do next |
|---|---|---|
| Sent | How many subscriptions the campaign targeted | Confirm the segment size was right |
| Delivered | How many notifications reached a device | Watch for a big gap, which suggests stale subscriptions |
| Clicked | How many people opened the link | Compare with your next campaigns |
| CTR | Clicks as a share of delivered | Use it to compare titles and timing over time |
One campaign is a baseline, not a verdict. So don’t judge your push channel on it. Instead, send a few campaigns, then compare. My guides to push notification metrics and A/B testing push notification titles explain what to track next.
What should you set up after your first campaign?
After your first campaign, set up the automations that send for you. A Welcome Push greets new subscribers, and Push on Publish sends a notification when you publish a WordPress post. On the Pro plan, AutoMagic Push and Drip campaigns add more automation.
You’ll find these on LaraPush’s automation page. If you run WordPress, my guide to sending a push notification automatically when you publish a post walks through Push on Publish, and how to use a welcome push notification covers the first message new subscribers see. LaraPush is a one-time purchase from $499 for the Startup plan, so check current pricing if you haven’t bought it yet.
Once your site is set up and you have a subscriber, a first campaign takes a few minutes. Quick Push fetches the title, description and image from a URL you paste. Then you check the preview, send a test to your own browser and send or schedule it.
Quick Push builds the notification from a page URL by fetching its metadata, so it’s fastest for promoting existing content. A manual campaign lets you write the title and message and choose the image, icon and link yourself, which gives you full control over the copy.
Yes. LaraPush shows a live preview while you build the campaign and lets you send a test notification before it goes out. Subscribe from your own browser first so the test has a device to reach, then click it to confirm the link works.
Yes. You can send a campaign immediately or schedule it for a later date and time. Scheduling helps when you prepare several campaigns in advance or want a notification to land when your readers are usually active.
A LaraPush campaign can include up to 2 call-to-action buttons, and each button has its own click tracking in the reports. Button display depends on the browser and OS, so always check the result with a test send.